
How to Install a Bathroom Tap: A Step-by-Step Installation Guide
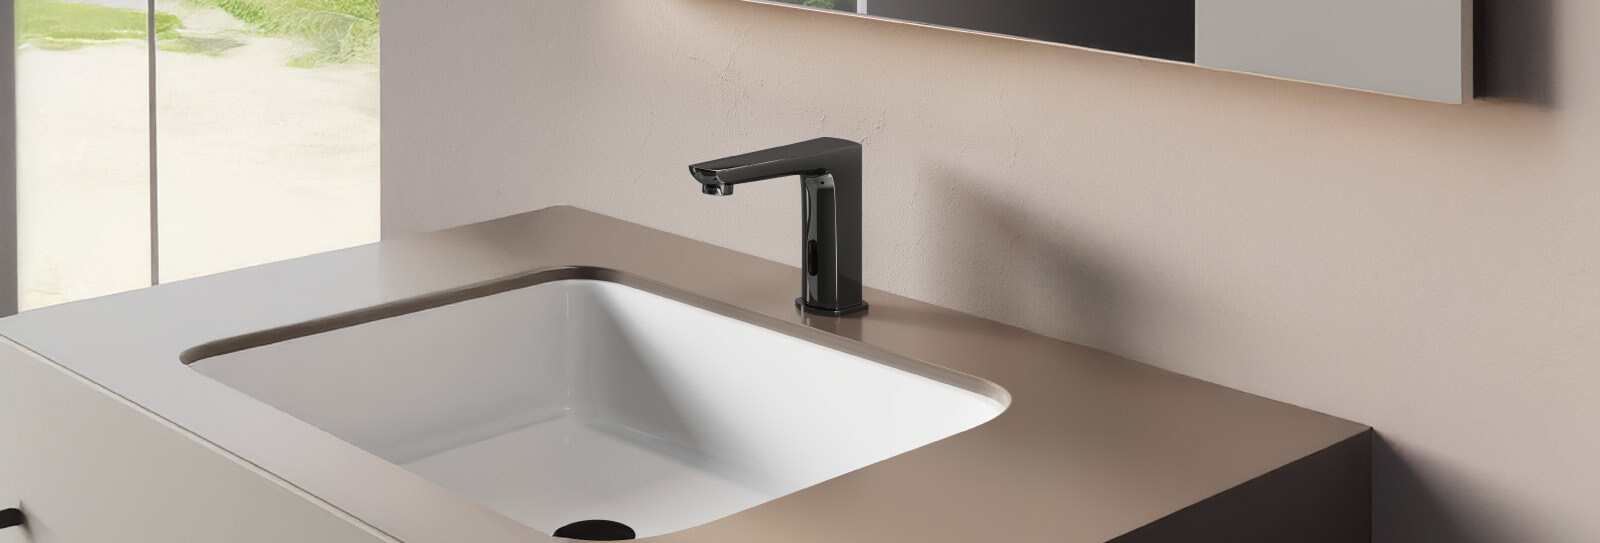
Changing a bathroom tap can make a bigger difference than you might expect. It can refresh the basin area, improve everyday use and give an older bathroom a more updated look.
The actual tap fitting is not always complicated, but it does need a little care. The water supply has to be shut off, the old fitting needs to come out cleanly and every connection needs to be secure before the water is turned back on.
If you are replacing an existing basin tap with a similar fitting, the process can often be handled with a few basic plumbing tools. Here is how to go about it.
Before You Start
First, make sure the new tap is suitable for your basin.
Check the number of tap holes, the type of installation and the water connections. A new fitting should be compatible with the existing setup. Jaquar's faucet guidance also recommends checking the installation instructions that come with the particular product before beginning.
It is also worth keeping a towel or bucket nearby. A little water can remain in the supply lines even after the supply has been turned off.
Tools You May Need
The exact tools depend on the tap and installation, but the basic list can include:
-
Adjustable wrench
-
Basin wrench
-
Pliers
-
Screwdrivers
-
Plumber's putty or suitable sealant, where required
-
PTFE or Teflon tape, where required
-
Towel or cloth
-
Bucket
-
Flashlight
-
Safety goggles
Jaquar's own replacement guide lists these among the tools and materials that may be needed for a faucet replacement.
Step 1: Turn Off the Water Supply
This is the first thing to do, and it should not be skipped.
Turn off the hot and cold water supply valves connected to the basin. Once they are closed, open the existing tap briefly to release any remaining pressure in the lines.
Keep a bucket or towel underneath the connections to catch any water that may still come out.
Before moving ahead, make sure the water has stopped completely.
Step 2: Remove the Existing Tap
With the water supply off, disconnect the existing water supply lines from the tap.
The tap is usually held in place underneath the basin with mounting nuts or similar hardware. A basin wrench can make it easier to reach these connections in the space below the basin.
Once the fixing has been loosened, lift the old tap out from above.
Take a moment to clean the area around the tap hole. Any old putty, sealant, dirt or residue should be removed before the new fitting goes in. A clean surface gives the new tap a better base.
Step 3: Prepare the New Tap
Before installing the new tap, lay out all the parts and check the manufacturer's installation instructions.
Depending on the model, you may have a gasket, mounting plate, hoses, washers or other fixing components.
If the tap uses flexible supply hoses, these may need to be connected to the tap before it is secured to the basin. The installation method can vary from one tap to another, so this is one stage where the product instructions matter.
Do not rush this part. It is much easier to spot a missing component while everything is still accessible.
Step 4: Position and Secure the Tap
Place the new tap through the appropriate opening in the basin or countertop.
From underneath, fit the mounting hardware supplied with the tap. Start by tightening it by hand so you can still make small adjustments.
Now check the position from above. The tap should sit straight and the spout should be correctly aligned with the basin.
Once everything looks right, tighten the mounting hardware securely. Avoid overtightening, as excessive force can damage the fitting or the mounting surface. Jaquar's installation guidance specifically advises against overtightening connections.
Step 5: Connect the Water Supply
Now connect the hot and cold water lines to the corresponding connections.
Make sure the threads are correctly aligned before tightening. If the particular connection requires PTFE tape or another sealing method, use it as specified in the installation instructions.
The important thing here is not to force a connection. Cross-threading or overtightening can create problems that are much harder to fix once everything is back in place.
Once connected, check that the supply lines are not kinked and have enough room to sit naturally underneath the basin.
Step 6: Turn the Water Back On Slowly
This is the moment to take it slowly.
Open the hot and cold water supply valves gradually. Do not immediately turn them fully open.
Look underneath the basin as the water begins to flow. Check the connections carefully for any signs of leakage.
If you notice a leak, turn the water supply off again and check the connection. A loose connection may simply need to be tightened appropriately. If the problem continues, it is better to stop and get professional help rather than repeatedly tightening the fitting.
Step 7: Test the New Tap
Once the connections look dry, turn on the tap.
Let the water run for a short while. This allows air and any installation debris in the lines to clear. Jaquar's faucet guidance recommends running water through the new fitting to flush out residue.
Check both the water flow and temperature. Also look underneath the basin once more while the tap is running.
If everything is working as it should, wipe down the tap and the basin area to remove any remaining water, sealant or installation residue.
What About the Tap Washer and Tap Connector?
Small components can make a big difference during installation.
A tap washer or gasket helps create a proper seal between components, depending on the tap design. Some modern fittings use different sealing arrangements, so the correct part should always be the one supplied or specified for that tap.
The tap connector links the tap to the water supply. Before installing a replacement, check that the connector and thread arrangement are compatible with the existing plumbing.
If you are unsure whether a washer, connector or other part is the correct one, check the product's installation instructions rather than trying to make an incompatible part work.
Can You Install a Bathroom Tap Yourself?
For a straightforward replacement, DIY installation may be possible if you are comfortable working with basic plumbing tools and the existing connections are accessible.
But not every installation is the same.
Jaquar recommends professional help where the job involves more complicated plumbing, difficult access, unusual mounting arrangements or plumbing that needs to be altered.
There is no advantage in forcing a DIY installation when the plumbing itself needs work. A small tap replacement is one thing. Changing the underlying water connections is another.
When Is It Time for a Tap Replacement?
Not every tap that leaks needs to be replaced.
Sometimes the problem is a worn washer, O-ring or cartridge, and replacing the faulty component can solve it. Jaquar's faucet guidance also recommends identifying the faulty part and replacing it where possible.
A replacement starts to make more sense when the tap has become difficult to operate, the damage is more extensive, the finish is badly worn or the existing fitting is no longer suitable for the basin or bathroom.
If you are unsure, have the tap inspected before buying a completely new one.
A Few Things to Remember
A successful tap replacement is less about rushing through the steps and more about getting the small things right.
Check the new tap before removing the old one. Turn off the water completely. Keep the installation area clean. Make sure every connection is compatible and secure. And always check for leaks before considering the job finished.
If the installation requires changes to the existing plumbing or you are not confident working with water connections, calling a qualified plumber is the safer option.
FAQs
How do you install a bathroom tap?
Start by turning off the hot and cold water supply. Remove the existing tap and clean the basin surface. Position the new tap with its required gasket or mounting components, secure it from underneath, connect the water supply lines and slowly turn the water back on. Finally, check the tap for proper operation and any leaks.
What tools are needed to install a bathroom tap?
Depending on the tap, you may need an adjustable wrench, basin wrench, pliers, screwdrivers, suitable sealant or plumber's putty, PTFE tape, a towel, bucket and flashlight. Safety goggles are also recommended when working with plumbing.
Can I install a bathroom tap myself?
A straightforward tap replacement can be suitable for DIY installation if the existing plumbing and connections are accessible and you are comfortable using basic tools. More complicated plumbing work is better left to a professional.
How long does it take to install a bathroom tap?
The time depends on the tap, the existing plumbing and whether the old fitting comes out easily. Jaquar's replacement guide notes that a straightforward faucet replacement can take around 10 to 15 minutes for many DIYers, although more involved installations can take longer.
When should I replace a bathroom tap instead of repairing it?
A tap does not necessarily need replacing just because it is leaking. A worn washer, O-ring or cartridge may be replaceable. Consider a new tap when the existing fitting has more extensive damage, is difficult to operate, has a badly worn finish or is no longer compatible with your bathroom setup.


