
How to Install a Bathtub Faucet: Step by Step Guide
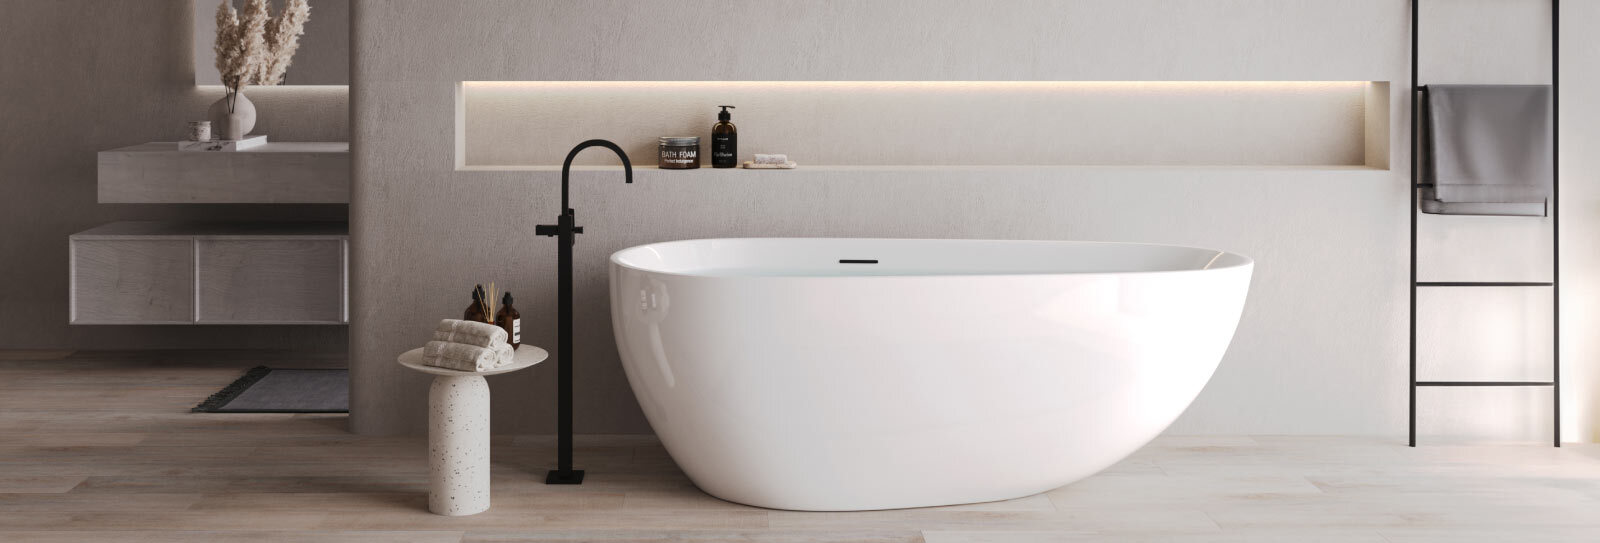
Few bathroom upgrades change the feel of a room as quickly as a new bath tap. Whether you are replacing a tired, dripping fitting or finishing off a full bathroom renovation, learning how to install a bathtub faucet properly is well within reach for most confident DIYers, provided you follow the right sequence and understand a few UK specific details along the way.
Unlike some home improvement jobs, tap fitting has a fairly forgiving margin for error if you take your time, but it also has a few steps that genuinely matter for safety and long term reliability. Getting the water supply properly isolated, choosing the correct connectors for your existing pipework, and sealing every joint with care are the difference between a tap that lasts for years and one that starts weeping at the base within weeks.
This guide walks through the full installation process from start to finish, covering the different types of bath tap you might be fitting, the tools and materials you will need, a clear step by step method, the most common mistakes people make, and when it genuinely makes sense to call in a qualified plumber instead. Whether you are fitting a simple pillar tap or a more elaborate bath shower mixer, the core principles remain the same.
Understanding the Different Types of Bath Taps
Before you begin, it helps to know exactly what type of fitting you are working with, since the installation approach varies slightly between them.
Deck mounted bath taps sit directly on the flat rim of the bath itself, with the tap bodies passing down through pre drilled holes and securing from underneath with backnuts. This is the most common configuration in UK homes and is generally the most straightforward to fit yourself, since the entire tap and its connections remain accessible from above and below the bath.
Wall mounted bath taps are fixed to the tiled wall above the bath rather than the bath itself, which gives a cleaner, more contemporary look but requires accurate positioning and often some tiling or wall preparation work before the tap body itself can be fitted. Getting the height and spacing exactly right at this stage is critical, since any error becomes far harder to correct once tiles are in place.
Bath shower mixer taps combine a bath filler spout with a diverter that redirects water to a separate shower handset, giving you both filling and showering functionality from a single fitting. These have more internal components than a standard bath tap, and slightly more care is needed when connecting the diverter and shower hose to avoid leaks at the additional joints.
Pillar taps, with separate hot and cold taps rather than a single mixer body, remain popular in more traditional or period style bathrooms. These are generally simpler to fit individually, though they do mean twice the number of connections to check for leaks.
Knowing which of these you are installing will help you follow the relevant parts of this guide and anticipate any extra steps specific to your fitting.
Tools and Materials You Will Need
Having everything ready before you start makes the whole job considerably smoother, since stopping partway through to search for a missing tool, particularly with the water supply already isolated, is best avoided.
You will typically need an adjustable spanner or basin wrench, a set of pliers, a spirit level, a tape measure, plumber's tape (also known as PTFE tape), a bucket and old towels to catch residual water, a torch if your under bath access is limited, and silicone sealant for finishing around the base of deck mounted taps. Most new bath taps come supplied with their own tap connectors, washers, and backnuts, but it is worth checking the box against the manufacturer's fitting list before you begin, since a missing washer partway through the job is a common and avoidable frustration.
If you are replacing an older tap, it is also worth having a spare set of flexible tap connectors on hand, since existing rigid pipework does not always line up neatly with a new tap's fitting points, and flexible connectors can bridge small positioning differences far more easily than rigid pipe.
Step 1: Turn Off the Water Supply
This is the step that matters most for safety, and it should never be skipped or rushed. Locate the isolation valves for your bath, which are usually found either under the bath panel or, in some older properties, at the main stopcock if no local isolation valves have been fitted. Turn each valve clockwise until it stops to shut off the flow.
Once isolated, open the existing bath tap fully to release any residual pressure and drain the remaining water from the pipework, catching any final drips with a bucket or towel. If your property has no isolation valves fitted to the bath supply at all, you will need to turn off the water at the main stopcock instead, and it is worth noting that UK water regulations require isolation valves to be fitted to plumbing outlets, so this is a good opportunity to have them added if they are missing.
Step 2: Remove the Old Tap
With the water supply confirmed off, disconnect the flexible tap connectors or pipework from the underside of the existing tap using an adjustable spanner. Keep a bucket beneath the connection point, since even a properly isolated supply can hold a small amount of residual water in the pipe.
Next, locate the backnuts securing the tap body to the bath itself and loosen these from underneath, supporting the tap body from above with your other hand as the final turns come free. Lift the old tap away once both backnuts are removed. If the tap has been in place for many years, the backnuts may have corroded slightly, in which case a little penetrating oil left to sit for a few minutes will make the job considerably easier than forcing a stiff fitting.
Step 3: Clean and Prepare the Surface
With the old tap removed, clean the area around the tap holes thoroughly, since this is a part of the bath that rarely gets attention during a normal clean and often has a build up of limescale, old sealant, or grime around the fixing points.
If there is old silicone sealant remaining from the previous tap, remove this carefully with a sealant scraper or a flathead tool, taking care not to score the surface of the bath itself. A clean, dry surface is essential both for the new tap to sit correctly and for any fresh sealant applied later to bond properly.
Step 4: Check Tap Connector Compatibility
Most UK bath taps use standard BSP threaded connections, typically half inch or three quarter inch depending on the tap and your existing pipework, but it is always worth confirming this rather than assuming, particularly if you are fitting a different style or brand of tap to the one previously installed.
If you are upgrading from an older tap to a newer mixer design, you may find the tap connector spacing does not perfectly match your existing pipe positions. This is where flexible tap connectors, sometimes referred to as flexi hoses, are genuinely useful, since they allow a small amount of adjustment to bridge the gap between the tap's fixing points and your existing supply pipes without needing to reposition the pipework itself.
Step 5: Position and Align the New Tap
For a deck mounted tap, place the rubber or plastic sealing washers supplied with the tap over the tap body's threaded connections, then feed these down through the holes in the bath from above. Before tightening anything, use a spirit level across the top of the tap to check it sits perfectly level, and confirm visually that it is centred and square relative to the bath itself.
For a wall mounted tap, this step is more involved, since you will need to mark and drill fixing points into the wall itself, checking both the horizontal level and the correct height above the bath rim before committing to any drilling. Getting a wall mounted tap's positioning wrong is far more disruptive to correct after the fact than a deck mounted equivalent, so take extra time with your measurements here, ideally double checking against the manufacturer's recommended spout height and reach for your specific bath size.
Step 6: Connect the Water Supply
Working from underneath the bath, connect the flexible tap connectors between the tap's threaded tails and your isolation valves or existing supply pipes. Wrap a few turns of plumber's tape clockwise around any threaded joints before connecting, since this helps create a watertight seal and prevents the connection from working loose over time.
Tighten each connection with an adjustable spanner, firm enough to ensure a secure seal but without overtightening, since excessive force can damage the washer inside the connector or crack a plastic fitting. If your bath includes a shower mixer function, this is also the stage to connect the shower hose and handset, following the specific instructions provided with your tap, since diverter mechanisms vary between manufacturers.
Step 7: Secure the Tap with Backnuts
Back at the top of the bath, thread the backnuts onto the tap's fixing bolts from underneath and tighten by hand initially to keep the tap centred, then use a spanner or basin wrench to fully secure them. As with the original removal, support the tap body from above while tightening from below, to avoid twisting it out of alignment as the nuts are drawn tight.
Once both sides are secure, recheck the tap with your spirit level, since even careful tightening can occasionally shift a tap slightly out of level if one side was tightened more than the other. Small adjustments are far easier to make at this stage than once the tap is fully sealed in place.
Step 8: Apply Sealant and Test for Leaks
For deck mounted taps, run a thin, even bead of silicone sealant around the base of the tap where it meets the bath surface, smoothing it with a wet finger or a sealant tool for a neat, professional finish. This prevents water from seeping down around the tap base and causing damage to the bath panel or surrounding structure over time.
With everything connected and sealed, slowly turn the isolation valves back on and run the tap for several minutes, checking every connection point underneath the bath for any sign of dripping or moisture. It is worth checking again after twenty minutes and once more the following day, since some slow leaks only become apparent once a joint has been under sustained water pressure for a while.
Common Mistakes to Avoid
A few recurring errors account for most bath tap installation problems, and being aware of them in advance can save considerable frustration.
Skipping the plumber's tape on threaded joints is one of the most common causes of a slow leak developing weeks after installation, since a dry thread rarely creates a fully watertight seal on its own. Overtightening plastic or chrome plated fittings can crack components that would otherwise last for years, so always tighten firmly rather than forcefully. Forgetting to support the tap body while tightening backnuts can twist the tap slightly out of alignment, leaving it visibly skewed even though the fixing itself is perfectly secure. Not testing thoroughly enough after installation means small leaks can go unnoticed until they have already caused staining or damage to surrounding surfaces, so always allow time for a proper test run before considering the job finished.
Wall Mounted vs Deck Mounted: Which Is Right for You?
If you are choosing a new bath tap rather than simply replacing an existing one like for like, it is worth weighing up which configuration suits your bathroom and your comfort with the installation process.
Deck mounted taps are generally the more accessible option for a confident DIYer, since the entire installation happens through existing, pre drilled holes with no need to disturb tiling or wall structure. Wall mounted taps offer a sleeker, more streamlined appearance and can make cleaning around the bath easier, since there are no tap bodies sitting on the rim itself, but they demand more precise planning, some tiling work, and typically benefit from being installed alongside a bathroom renovation rather than as a standalone swap.
If your existing bathroom already has wall mounted pipework in place, upgrading to a new wall mounted tap is usually straightforward. If you are converting from deck mounted to wall mounted for the first time, this is a job where involving a qualified plumber or bathroom fitter is generally the more sensible route, given the wall preparation and pipe rerouting involved.
Water Regulations and Certification
In the UK, any tap connected to the mains water supply should meet Water Regulations requirements, and looking for WRAS approval, standing for Water Regulations Advisory Scheme, is a reliable way to confirm a tap has been tested for safety, water quality, and backflow prevention. This is particularly worth checking if you are buying a tap from an unfamiliar brand rather than an established bathroom retailer.
It is also a legal requirement in the UK for accessible outlets, including bath supplies, to have isolation valves fitted, so if your existing setup lacks these, fitting them as part of your tap installation is both good practice and, in many cases, a genuine requirement rather than simply a convenience.
When to Call a Professional
While a straightforward like for like deck mounted tap swap is a manageable DIY project for most people, certain situations are better handled by a qualified plumber. If your installation involves moving or rerouting existing pipework, converting from deck mounted to wall mounted taps, working with old or corroded pipework that shows signs of wider deterioration, or if you are at all unsure about isolating the water supply safely, it is worth the modest cost of professional installation rather than risking a leak that could cause water damage to floors, ceilings, or neighbouring rooms.
Brands such as Jaquar UK design their bath tap ranges with standard UK fittings and clear manufacturer instructions specifically to make DIY installation more accessible, but even the best designed tap still depends on correctly isolated pipework and properly sealed joints, so knowing your own limits is just as important as following the steps correctly.
Maintenance Tips After Installation
Once your new bath tap is fitted and tested, a small amount of ongoing care helps it perform well for years to come. Wipe the tap down after use to prevent limescale building up around the base and spout, particularly in hard water areas common across much of the UK. Periodically check that the backnuts underneath remain snug, since normal use and temperature changes can very gradually loosen fittings over months of use. If you notice a slow drip developing from the spout itself rather than a connection point, this is often a sign that an internal washer or cartridge needs replacing rather than the tap requiring a full reinstallation, and many taps allow these parts to be swapped individually rather than replacing the whole fitting.
Conclusion
Installing a bathtub faucet is a genuinely achievable project for most confident DIYers, provided you approach it methodically rather than rushing through the steps. The fundamentals come down to a handful of principles that matter every time: isolate the water supply properly before you start, take the time to check tap connector compatibility rather than assuming everything will line up, seal every threaded joint with plumber's tape, and test thoroughly once the installation is complete rather than assuming a dry surface means the job is finished.
Whether you are fitting a simple deck mounted pillar tap or a more involved wall mounted bath shower mixer, the same careful sequence of turning off the supply, removing the old fitting, preparing the surface, positioning the new tap, connecting the water lines, and testing for leaks applies throughout. Taking a little extra time at each stage, particularly around alignment and sealing, is what separates a bath tap that performs reliably for years from one that needs revisiting within weeks.
If you are ever uncertain at any stage, particularly when isolating water supplies or working with unfamiliar pipework, there is no shame in bringing in a qualified plumber to finish the job safely. But for a standard like for like replacement, following the steps in this guide should have your new bath tap fitted, tested, and ready to use in an afternoon.


