
How to Fix a Leaky Shower Head: Simple Steps That Actually Work
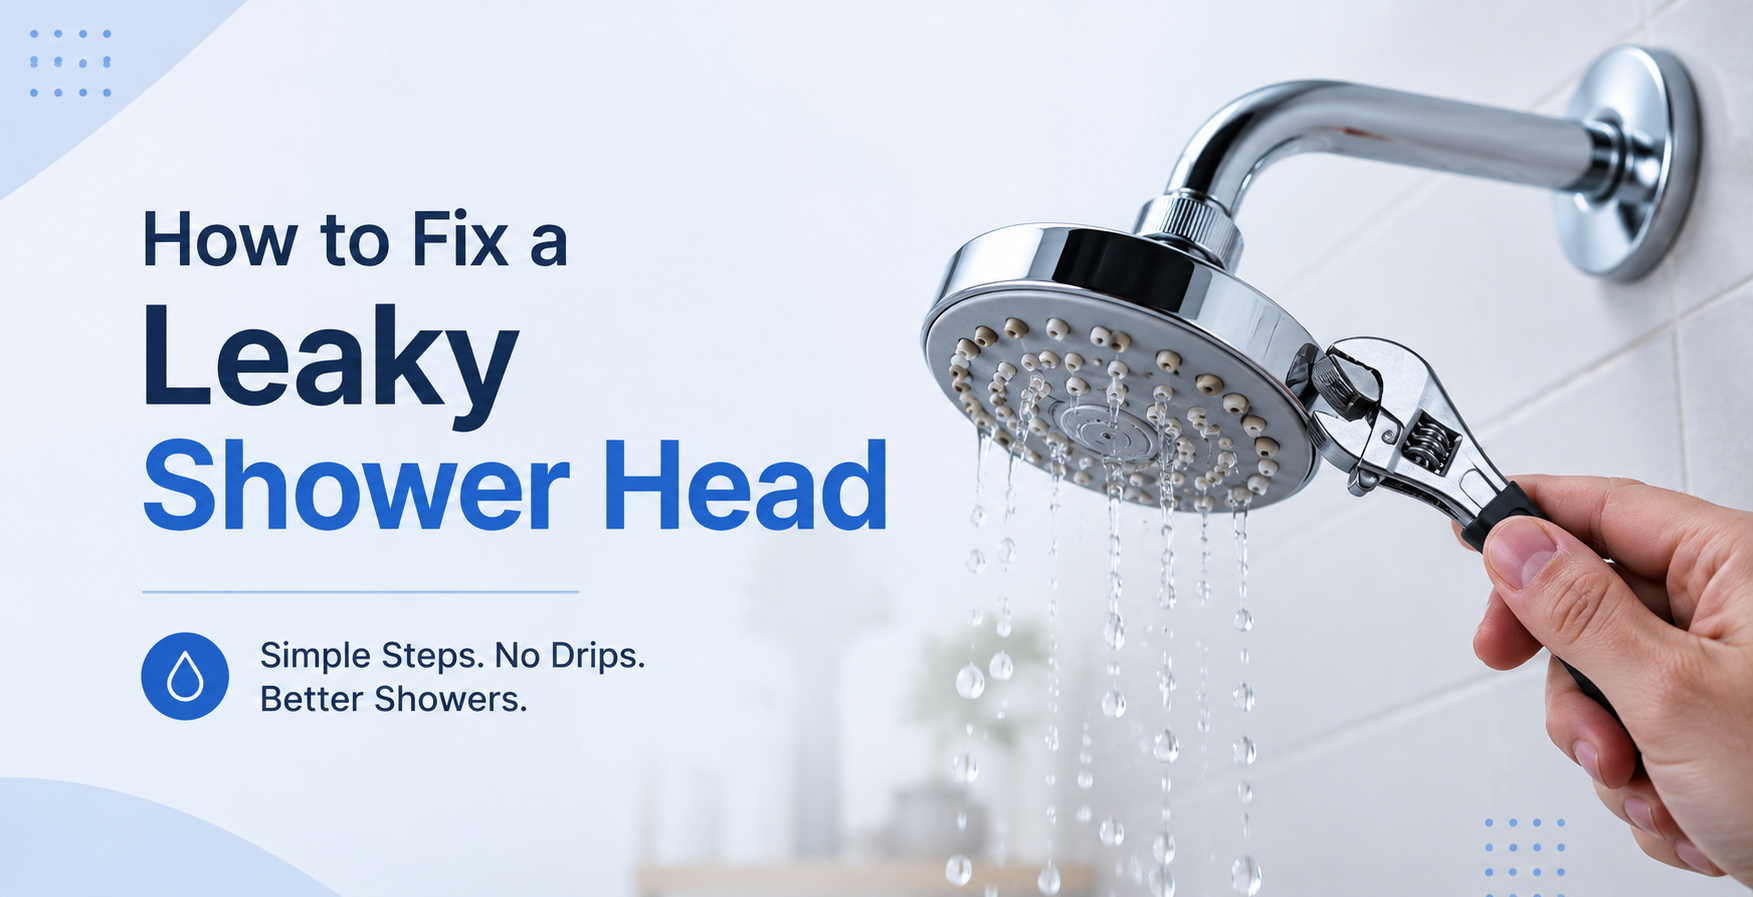
A shower head that drips long after you have turned the water off is one of those small household annoyances that is easy to ignore at first, but quickly becomes both wasteful and irritating. Beyond the steady drip drip drip breaking the silence of your bathroom at night, a persistent leak can push up your water bill, encourage limescale build up, and in some cases point to a bigger issue further back in your shower system that only gets worse the longer it is left unaddressed.
The reassuring news is that most leaking shower heads are caused by a small handful of common, easily identifiable issues, and the vast majority can be fixed without calling in a plumber at all. Whether the culprit is a worn washer, a build up of limescale, a loose connection, or a failing internal cartridge, understanding what is actually causing the leak is the key to fixing it properly rather than temporarily.
This guide walks through the most common causes of a leaking shower head, the tools you will need, a clear step by step troubleshooting and repair process, and guidance on when a leak is a sign of something that genuinely needs professional attention. Whether you have a simple fixed shower head, a handheld unit on a hose, or a more elaborate thermostatic mixer shower, the same core principles apply throughout.
Why Shower Heads Leak: Common Causes
Before reaching for tools, it helps to understand what actually causes a shower head to drip, since different causes call for different fixes.
Worn washers or O rings are by far the most frequent culprit. These small rubber seals sit inside the shower head connection and the shower valve itself, and over time they naturally lose their elasticity through repeated exposure to water and temperature changes, allowing tiny amounts of water to escape even when the shower is fully turned off.
Limescale build up is a particularly common issue across much of the UK, where hard water areas cause mineral deposits to accumulate inside the shower head's nozzles and internal channels. This build up can prevent the shower head from sealing correctly against its fittings, or force water to find alternative escape routes through worn joints rather than flowing normally through the intended outlets.
Loose connections between the shower hose, shower head, and shower arm are another straightforward cause, since normal daily handling, particularly with handheld shower heads, can gradually work fittings loose over time.
A failing shower valve or cartridge is a less common but more serious cause, particularly in mixer and thermostatic showers, where the internal mechanism responsible for controlling water flow and temperature can wear out and allow water to bypass its intended shut off point. This type of leak often continues even after a shower head itself has been replaced, since the fault lies further back in the system.
Identifying which of these applies to your situation is the first genuine step toward a lasting fix rather than a temporary one.
Tools and Materials You Will Need
Most shower head leaks can be diagnosed and fixed with tools already found in a typical UK household toolbox. Before starting, it is worth gathering an adjustable spanner, a pair of pliers, plumber's tape (also known as PTFE tape), a soft cloth, an old toothbrush for cleaning nozzles, white vinegar or a proprietary limescale remover, a small sandwich bag and elastic band for soaking, and replacement washers or O rings sized to match your fittings, since these are inexpensive and worth having on hand even before you know for certain that they are the cause.
If your leak appears to be coming from the shower valve itself rather than the shower head, you may also need a specific valve tool or Allen key depending on your shower's make and model, and having your shower's model information to hand, often printed on the valve body itself, will make sourcing the correct replacement cartridge considerably easier.
Step 1: Identify Exactly Where the Leak Is Coming From
Before attempting any fix, spend a few minutes carefully observing where the water is actually escaping from, since this single step often narrows down the cause immediately. Turn the shower fully off and dry the entire shower head, hose, and surrounding fittings thoroughly with a cloth, then wait several minutes and check again.
If water is dripping from the nozzles of the shower head itself, this typically points to a worn washer inside the shower valve, allowing a small amount of water through even in the off position. If water is seeping from the connection point between the shower head and the hose, or between the hose and the wall outlet, this usually indicates a loose fitting or a worn seal at that specific joint. If water appears to be coming from around the shower valve or control itself, embedded in the wall, this is a more significant sign that points toward an internal cartridge or valve issue rather than anything related to the shower head.
Taking the time to isolate the exact source before starting will save you from replacing parts that were never actually causing the problem in the first place.
Step 2: Turn Off the Water Supply
Regardless of where the leak appears to originate, always isolate the water supply before beginning any repair work. For most UK bathrooms, this means locating the isolation valves specific to the shower, often found either behind an access panel near the shower unit or under the bath if your shower is bath mounted. Turn these clockwise until they stop.
If your property does not have dedicated isolation valves fitted to the shower, you will need to turn off the water at the main stopcock instead. Once isolated, briefly turn the shower on to release any residual pressure in the pipework and confirm the water flow has genuinely stopped before proceeding with any disassembly.
Step 3: Clean and Descale the Shower Head
If you suspect limescale is contributing to the leak, or simply as a sensible first step before assuming a part needs replacing, removing and descaling the shower head is worth doing regardless of the specific cause, since it is quick, inexpensive, and often resolves the issue entirely on its own.
Unscrew the shower head from the hose or shower arm, using pliers wrapped in a cloth to protect the finish if the connection is stiff. Submerge the shower head in a bowl of equal parts white vinegar and water, or fill a sandwich bag with the solution and secure it around the shower head with an elastic band if it cannot be fully removed. Leave it to soak for at least thirty minutes, longer for particularly stubborn limescale build up, then use an old toothbrush to gently scrub each nozzle, dislodging any remaining deposits before rinsing thoroughly under running water.
This process alone resolves a surprising number of dripping shower head issues, particularly in hard water areas, since a shower head clogged with limescale often cannot seal correctly against its fitting even when every washer is in perfectly good condition.
Step 4: Check and Replace Worn Washers or O Rings
If descaling does not resolve the drip, the next most likely cause is a worn washer or O ring. These small rubber seals are typically found inside the connection point between the shower head and the hose, and inside the shower valve itself where the water flow is controlled.
To check the shower head connection, unscrew the shower head fully and look for a small rubber washer inside the fitting. If it appears flattened, cracked, or misshapen compared with a new one, this is very likely your leak's source. Replacement washers are inexpensive and widely available from any UK hardware shop or plumbing supplier, and simply need to match the size of the fitting being replaced.
For a leak originating from the shower valve itself, the process is slightly more involved and depends on your specific valve type. Many modern mixer and thermostatic showers use a removable cartridge that houses the internal O rings and seals as a single unit, and replacing this cartridge, rather than trying to access individual washers within it, is usually the correct approach. Your shower's manufacturer instructions or model specific guidance will confirm whether your valve uses a cartridge system and how to access it safely.
Step 5: Reassemble and Wrap Threaded Connections
Once you have replaced any worn washers or O rings, and before reconnecting the shower head to the hose or wall fitting, wrap a few turns of plumber's tape clockwise around any threaded connections. This simple step creates a more reliable watertight seal and helps prevent the connection from working loose again over time, particularly on handheld shower heads that are handled and repositioned regularly.
Reattach the shower head, tightening firmly by hand and then giving it a final quarter turn with pliers wrapped in a cloth to protect the finish, taking care not to overtighten, since excessive force can damage the washer you have just fitted or crack a plastic fitting.
Step 6: Turn the Water Back On and Test Thoroughly
With everything reassembled, slowly turn the isolation valves back on and run the shower for several minutes, checking every connection point along the way for any remaining sign of dripping or moisture. Turn the shower off fully afterwards and check again after a few minutes, since a genuinely resolved leak should show no further dripping once the water has had time to settle.
It is also worth checking again the following day, since some minor leaks only become apparent once a joint or seal has been under sustained water pressure for an extended period rather than the brief test run immediately after a repair.
Troubleshooting Specific Types of Shower Head Leaks
A shower head that drips constantly, even hours after use, most commonly points to a worn washer inside the shower valve itself rather than the shower head, since a properly sealing valve should stop water flow completely regardless of any limescale in the shower head. A shower head that only drips briefly after being turned off is more likely simply residual water draining from the hose and head under gravity, which is generally normal and not a fault requiring repair. Leaking specifically from the hose connection points almost always indicates either a worn washer at that joint or a connection that has gradually loosened over time, both of which are usually resolved with the washer replacement and plumber's tape steps outlined above. A leak that appears to be coming from behind the wall around the shower controls is a more serious sign and typically indicates a failing valve, damaged pipework, or a seal issue within the wall mounted section of the system, and this situation generally calls for professional assessment rather than a DIY fix, given the potential for hidden water damage.
Preventing Future Shower Head Leaks
A small amount of ongoing care significantly reduces the likelihood of leaks developing in the first place, particularly in hard water areas across much of the UK. Wiping down the shower head after each use helps prevent limescale from settling into the nozzles before it has a chance to build up. Descaling the shower head every one to two months, more frequently in particularly hard water regions, keeps the internal channels clear and reduces strain on the washers and seals within. Avoiding excessive force when adjusting or repositioning a handheld shower head helps prevent the hose connection from gradually working loose over time. Periodically checking that all visible connections remain firm, without needing to fully disassemble anything, allows you to catch a loosening fitting before it develops into a genuine leak.
When to Call a Professional Plumber
While the vast majority of leaking shower head issues are entirely manageable as a DIY repair, certain situations are better handled by a qualified plumber. If a leak persists after replacing washers and descaling thoroughly, this often points to a failing internal valve or cartridge that requires more specific diagnosis than a general guide can safely cover for every shower model. If you notice water damage, staining, or dampness on walls or ceilings near your shower, this suggests the leak may be occurring within the wall itself rather than at any visible external connection, and this should always be assessed professionally given the risk of hidden structural damage. If your shower is under warranty, it is also worth checking the manufacturer's terms before attempting any internal repair yourself, since unauthorised disassembly can sometimes affect warranty coverage.
Choosing a shower system from an established manufacturer such as Jaquar UK, with WRAS approved components and clearly documented parts, makes sourcing exact replacement washers or cartridges considerably more straightforward when a repair genuinely is needed, since matching an unfamiliar or unbranded part to an existing fitting is often the most time consuming part of any shower repair.
Frequently Asked Questions:-
Why does my shower head keep leaking even after I replace the washer?
This usually means the leak is originating from the shower valve itself rather than the shower head connection, in which case the internal cartridge or valve seals need attention rather than the external washer.
Is a dripping shower head actually wasting much water?
Yes. A shower head dripping consistently can waste a significant amount of water over the course of a year, and beyond the environmental impact, this is reflected directly in water bills for households on a water meter.
How often should I descale my shower head?
In hard water areas across much of the UK, descaling every four to six weeks helps prevent limescale build up from affecting flow and sealing. In softer water areas, every two to three months is generally sufficient.
Can I fix a leaking shower valve myself?
Many mixer and thermostatic shower valves use a replaceable cartridge system that a confident DIYer can access and replace, provided the water supply is properly isolated first. However, if you are at all unsure, or if the leak appears to be within the wall itself, professional assessment is the safer option.
Conclusion
A leaking shower head is rarely a sign of a serious plumbing problem, and in the great majority of cases it comes down to one of a small number of straightforward, identifiable causes. Limescale build up, worn washers, loose connections, and occasionally a failing internal valve account for nearly every dripping shower head reported in UK bathrooms, and each of these has a clear, manageable fix that most people can carry out themselves with basic tools and a little patience.
The key to a lasting repair, rather than a temporary one, lies in correctly identifying where the leak is actually coming from before assuming which part needs attention. Taking the time to isolate the water supply properly, descale thoroughly, check washers and seals carefully, and test rigorously afterwards will resolve the vast majority of leaks permanently.
If a leak persists despite these steps, or if you notice any signs of water damage beyond the shower fittings themselves, this is the point at which bringing in a qualified plumber is the sensible next move rather than continuing to guess. But for the great majority of dripping shower heads, the fix is well within reach of an afternoon, a few simple tools, and the steps outlined in this guide.


-54x36.jpg)


