
How to Remove a Toilet Seat: Step by Step Guide
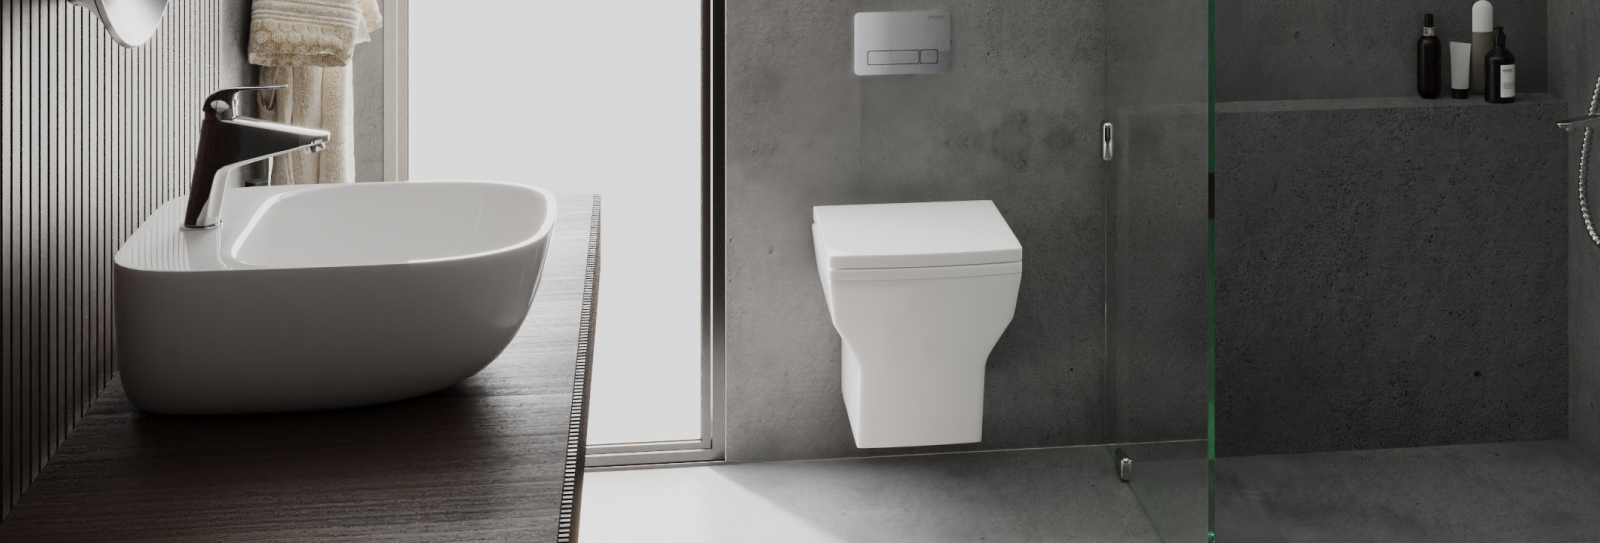
Removing a toilet seat sounds like it should take thirty seconds, and often it does. But anyone who has knelt beside a toilet trying to work out where the fixings are hidden, or wrestled with a corroded bolt that refuses to budge, knows the job can turn into something far more frustrating than expected. Whether you are removing a seat to fit a replacement, taking it off for a proper deep clean, or preparing a toilet for a full bathroom renovation, knowing exactly how the fixings work makes the difference between a two minute task and a lengthy battle with rusted metal.
The good news is that once you understand the handful of fixing types used across UK bathrooms, and have the right tools within reach, removing almost any toilet seat becomes a straightforward, low risk job that needs no plumbing experience at all. This guide walks through everything from identifying your fixing type to dealing with stubborn, corroded, or hidden bolts, along with practical troubleshooting for the situations that most commonly catch people out.
By the end of this guide, you will know exactly how to remove your toilet seat cleanly, safely, and without damaging the toilet bowl itself, whatever type of fixing your bathroom happens to have.
Why You Might Need to Remove a Toilet Seat
There are several everyday reasons for taking a toilet seat off, and the approach is broadly the same whatever your reason happens to be.
The most common is simply replacing an old or damaged seat with a new one, whether because the hinges have worn out, the seat has cracked, or you are refreshing the bathroom's look as part of a wider update. Deep cleaning is another frequent reason, since the area around the hinges and underneath the seat itself is one of the most commonly missed spots during a normal bathroom clean, and periodically removing the seat entirely allows you to properly clean and disinfect the fixing points and the ceramic beneath them.
Some people remove a seat temporarily during a bathroom renovation or retiling project to protect it from dust, paint, or debris, while others are removing a seat permanently ahead of installing a bidet seat or smart toilet seat that requires different fixings altogether. Whatever the reason, the underlying mechanics of removal remain consistent, and understanding them properly will save you time regardless of the specific job at hand.
Understanding Toilet Seat Fixing Types
Before attempting removal, it is worth identifying which type of fixing your toilet seat uses, since this determines both the tools you will need and the exact steps to follow.
Bottom fixing seats are the traditional and still very common style found across many UK bathrooms. With this design, bolts pass down through the hinge and through the toilet bowl itself, with nuts tightened from underneath the ceramic to hold everything secure. Removing this type means accessing both the top of the bolt and the nut underneath the bowl, usually working with a screwdriver in one hand and a spanner or pliers in the other.
Top fixing seats, sometimes marketed as quick release toilet seats, are increasingly common in newer bathroom suites. The entire fixing and release mechanism is accessed from above, meaning there is no need to reach underneath the bowl at all. Many of these use a twist or push button release built directly into the hinge, allowing the seat to lift away in seconds without any tools whatsoever.
Hidden or concealed fixing seats are found on many close coupled and back to wall toilets, where the bolts and nuts are covered by a decorative cap or cover plate rather than being left visible. These require an extra step of removing the cover before the bolts themselves become accessible, and the caps can sometimes be stiff or brittle, particularly on older seats, so a careful approach is needed to avoid cracking them.
Taking a moment to look closely at your seat's hinge area before starting will usually make clear which type you are dealing with, and this single check will save considerable time and confusion further into the job.
Tools You Will Need
Most toilet seat removals require nothing more than tools already found in a typical UK household toolbox, and it is worth gathering everything before you start rather than discovering a missing item halfway through.
You will typically need a flathead screwdriver, a crosshead screwdriver, an adjustable spanner or a pair of pliers, disposable gloves, a cloth and bathroom disinfectant, and kneepads or a folded towel for comfort while working close to the floor. If you suspect your fixings have corroded, it is also worth having some penetrating oil on hand, along with an old cloth to catch any drips or debris as you work.
For toilets with completely hidden or unusual fixings, a small flat tool such as a butter knife or plastic trim removal tool can help gently lever off decorative caps without scratching the surrounding ceramic or plastic.
Step 1: Prepare the Area
Before touching the seat itself, put on a pair of disposable gloves, since this is not the cleanest part of any bathroom job, and lay an old towel or a few sheets of newspaper on the floor beside the toilet to catch any small parts, dust, or debris that come loose during removal. This also gives you somewhere clean to set the tools down as you work rather than balancing them on the toilet lid or the floor itself.
If you know you will be handling stubborn or older fixings, it is worth applying a small amount of penetrating oil to any visible bolts at this stage and leaving it to sit for a few minutes while you gather the rest of your tools, since this alone can save considerable effort further into the job.
Step 2: Locate and Access the Fixing Points
For most UK toilet seats, the fixing points sit at the rear of the seat, close to where the hinge meets the toilet bowl. On many models, these are covered by small plastic caps designed purely for a neater appearance rather than any functional purpose.
Using a flathead screwdriver, gently work around the edge of each cap rather than levering forcefully from a single point, since older or more brittle plastic caps can crack if too much pressure is applied at once. Work slowly around the circumference until the cap pops free, revealing the top of the fixing bolt underneath.
If your toilet uses a top fixing or quick release design, this step may look slightly different, since the release mechanism is often built directly into a visible dial or catch on the hinge itself, without any separate cap to remove first. Take a moment to look closely at the hinge design before assuming a cap needs to be prised off, since forcing a mechanism that was never designed to be levered can cause unnecessary damage.
Step 3: Removing a Bottom Fixing Seat
With the caps removed and the tops of the bolts visible, reach underneath the toilet bowl to locate the corresponding nuts. This is often the most physically awkward part of the job, particularly on toilets positioned close to a wall, and a torch can be genuinely useful if visibility underneath the bowl is limited.
Hold the top of the bolt steady with a screwdriver in one hand while turning the nut underneath counterclockwise with a spanner or pliers in the other. Once the nut has been fully loosened and removed, the bolt should lift out easily from above, and repeating this on the second side will allow the entire seat and hinge assembly to lift away from the bowl.
Keep the nuts, bolts, and any washers to one side rather than discarding them immediately, particularly if you are removing the seat temporarily for cleaning rather than permanently replacing it, since you may need them again shortly.
Step 4: Removing a Top Fixing or Quick Release Seat
Top fixing seats are generally the simplest to remove, since the entire mechanism has been designed specifically for tool free, repeated removal, often for cleaning purposes.
Look for a small lever, button, or twist dial at the base of each hinge. Depending on the specific design, you may need to press both release catches simultaneously while lifting the seat upward, or twist a dial a quarter turn to disengage the locking mechanism before lifting. If you are unsure of the exact release method for your particular seat, a quick check of the manufacturer's instructions, often available on the product packaging or the retailer's website, will clarify the process for your specific model, since designs do vary slightly between manufacturers.
Once released, the seat and lid should lift cleanly away from the hinge posts without requiring any tools at all, leaving the mounting brackets themselves still attached to the bowl unless you also intend to remove those.
Step 5: Dealing with Hidden or Concealed Fixings
Some close coupled and back to wall toilets use a fully concealed fixing system, where even the hinge posts themselves sit beneath a continuous cover strip rather than individual caps. These are more common on premium or design led toilet ranges, where a completely smooth, gap free appearance is part of the intended look.
For these designs, look for a small release catch or gap at one end of the cover strip, often at the rear, and gently work a flat tool underneath to release the fixing before lifting the strip away. Once removed, the fixing bolts beneath typically follow the same top fixing or bottom fixing principles described earlier, so proceed with the corresponding steps once the cover has been removed.
If you cannot immediately identify how a concealed fixing releases, it is far better to pause and check the manufacturer's documentation than to force an unfamiliar mechanism, since concealed fixing components can be more expensive to replace than a standard cap or bracket if damaged during removal.
Dealing with Stuck or Corroded Bolts
Bolts that have been in place for many years, particularly in a humid bathroom environment, can corrode or seize, making removal considerably harder than expected. If a bolt will not turn with reasonable effort, avoid forcing it excessively, since this risks snapping the bolt entirely or, worse, cracking the toilet bowl itself.
Instead, apply a penetrating oil directly to the threaded area and leave it to sit for ten to fifteen minutes before attempting again. Gently working the bolt back and forth in small increments, rather than attempting a single full turn, can also help break down surface corrosion gradually. If a bolt still refuses to move after this, a small hacksaw blade can sometimes be used to carefully cut through a badly corroded bolt as a last resort, though this should be done with caution and appropriate eye protection, working slowly to avoid damaging the surrounding ceramic.
In genuinely stubborn cases where a bolt has fully seized and cannot be freed safely, it may be more practical to simply cut through the bolt entirely just below the hinge, since the toilet seat and hinge assembly being replaced will not be reused regardless.
What to Do If There Are No Visible Bolts at All
Occasionally, particularly on some hidden fixing or premium toilet designs, there may be no obviously visible bolts or caps at all once you have looked closely at the hinge area. In these cases, the fixing mechanism is often integrated more subtly into the hinge housing itself, sometimes requiring a specific twist, slide, or press action rather than any tool based removal.
If this is the case, resist the temptation to pry at the hinge with a screwdriver, since this can easily damage a mechanism that was designed to release cleanly with the correct technique. Checking the toilet or seat manufacturer's website for a specific removal guide, or contacting their customer support directly with the model name, is the safest way to identify the correct method without risking damage to either the seat or the bowl itself.
Cleaning the Area After Removal
With the seat fully removed, take the opportunity to clean the toilet bowl and fixing area thoroughly, since this is a part of the toilet that rarely gets proper attention during a routine clean. Limescale, residue, and general grime tend to accumulate around the fixing holes and the rim where the seat buffers normally rest, and this build up can be difficult to reach with the seat still in place.
Use a bathroom disinfectant and a cloth to clean both the top surface of the bowl and around the fixing holes, drying the area thoroughly afterwards. This is also a sensible moment to check the ceramic itself for any hairline cracks or chips around the fixing points that might not have been visible with the seat installed, since these are worth being aware of before fitting a replacement seat.
Disposing of an Old Toilet Seat
Once removed, most standard plastic or duroplast toilet seats can be disposed of through household general waste, though checking your local council's specific guidance is worth doing, since recycling options for mixed plastic and metal fittings can vary between areas. Wooden toilet seats may be accepted through some council recycling or bulky waste collection schemes rather than general waste, depending on their construction.
If your old seat is still in reasonably good condition and simply being replaced for cosmetic reasons rather than damage, it is also worth considering whether it could be donated or reused elsewhere before defaulting to disposal, particularly for seats with barely used soft close hinges.
Common Mistakes to Avoid When Removing a Toilet Seat
A handful of avoidable errors account for most of the frustration people experience with this job. Forcing a stuck bolt without applying penetrating oil first often leads to a rounded bolt head that becomes even harder to remove afterwards. Levering plastic caps from a single point rather than working gradually around the edge frequently results in a cracked cap, even on seats that are otherwise in good condition. Attempting to pry open a concealed or top fixing mechanism designed for tool free release can damage components that were never intended to be forced. Discarding the original fixings before confirming a replacement seat's fittings are compatible can leave you without the correct hardware if you later decide to reuse the existing hinge brackets rather than fitting an entirely new set.
Taking a moment to identify your specific fixing type before starting, rather than assuming every seat comes apart the same way, avoids the majority of these issues entirely.
When to Consider Professional Help
For the vast majority of households, removing a toilet seat is a job well within reach without any professional assistance, typically taking no more than ten to fifteen minutes even when dealing with a slightly stiff fixing. However, if you encounter a fully seized bolt that will not respond to penetrating oil and careful, gradual effort, or if you notice any cracking in the ceramic bowl itself during the process, it is worth pausing and considering professional help rather than risking further damage.
Similarly, if you are removing a seat as part of installing a more complex fitting, such as a bidet seat or smart toilet seat with electrical or water supply connections, involving a qualified plumber for the installation stage, even if you have handled the initial removal yourself, is a sensible precaution given the additional plumbing and electrical considerations involved.
Ranges from manufacturers such as Jaquar UK are designed with standard UK fixing types in mind specifically to keep both removal and replacement straightforward for confident DIYers, but understanding your existing fixing type before you begin remains the most important factor in a smooth, damage free removal regardless of which brand your current seat happens to be.
Conclusion
Removing a toilet seat is, in the vast majority of cases, one of the simplest jobs in the bathroom, provided you take a moment to identify your fixing type before diving in. Bottom fixing seats require access from both above and below the bowl, top fixing and quick release designs are built for tool free removal in seconds, and hidden or concealed fixings need an extra step of removing a cover before the underlying bolts become accessible.
The handful of situations that genuinely slow the process down, corroded bolts, cracked caps, or unfamiliar concealed mechanisms, are almost always avoidable with a little patience, the right tools, and a willingness to pause and check rather than force an unfamiliar fitting. Working through the steps methodically, applying penetrating oil where needed, and taking care with plastic caps and covers will see almost any toilet seat removed cleanly and without damage.
Whether you are removing a seat for a straightforward replacement, a thorough deep clean, or as preparation for a wider bathroom renovation, the same fundamentals apply throughout. Take your time, identify your fixing type correctly, and the job itself will rarely take more than a few minutes from start to finish.


-54x36.jpg)


