
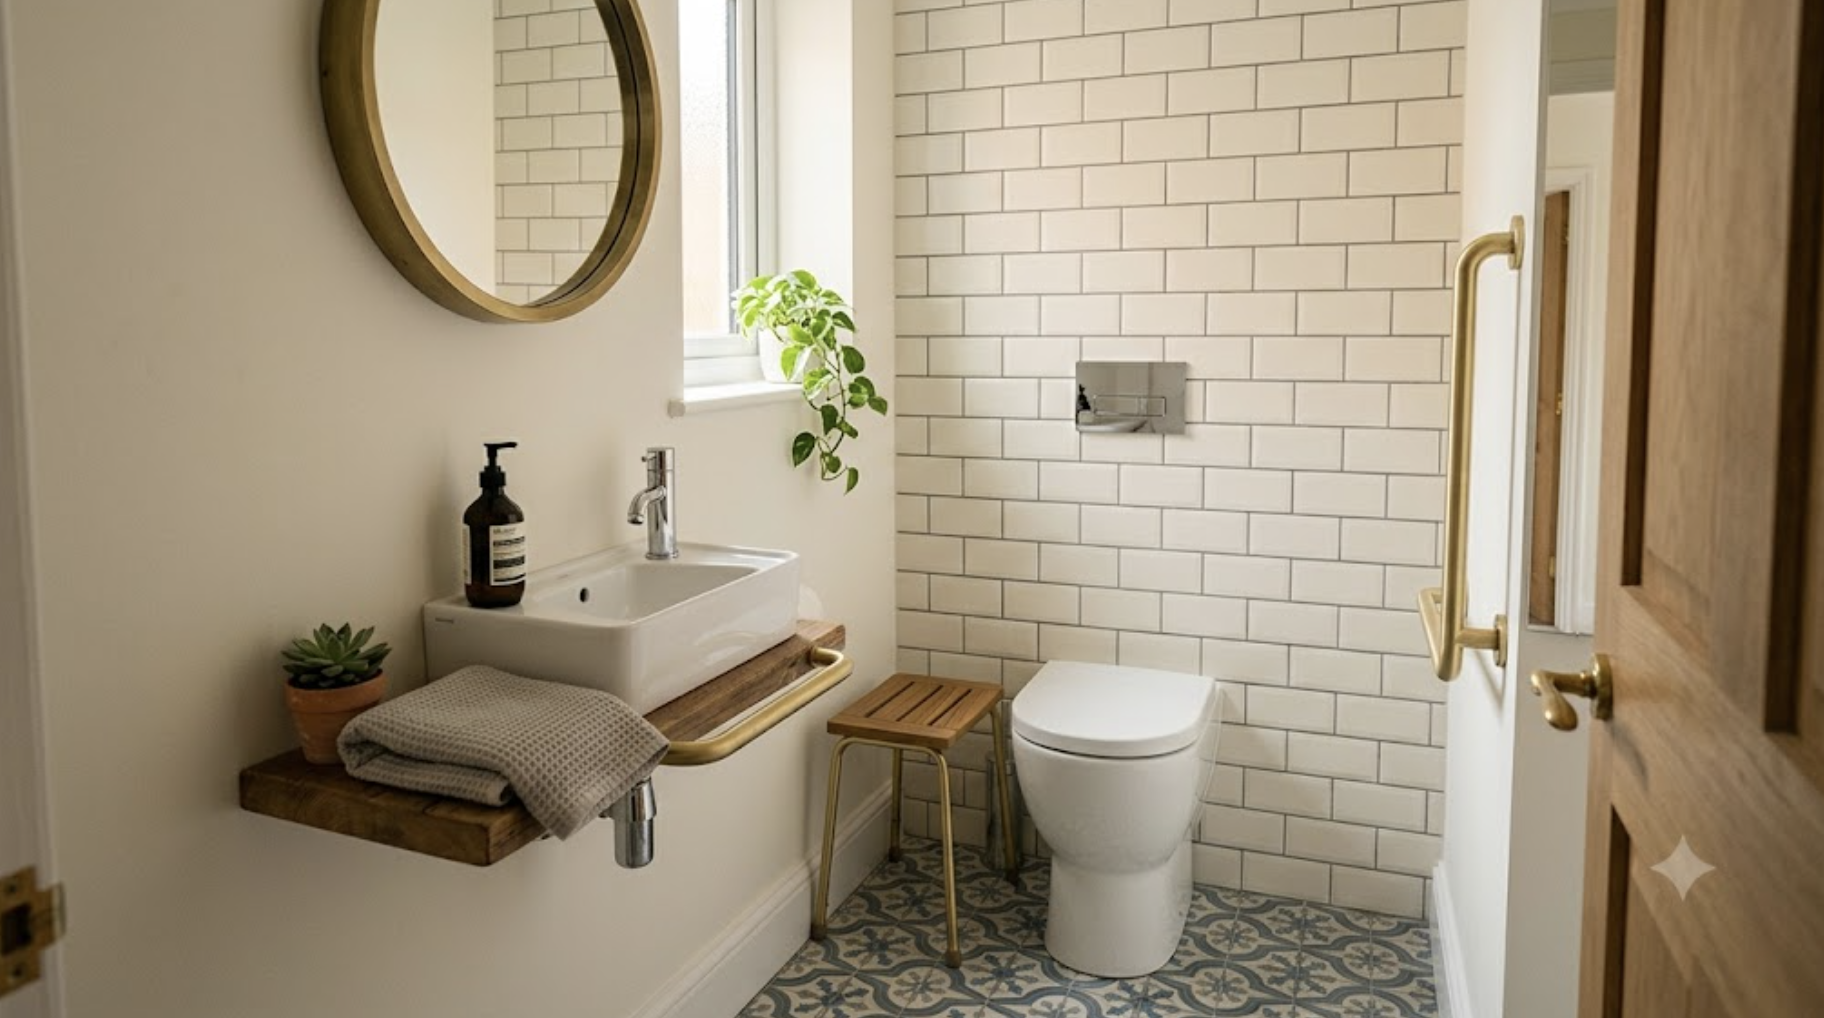
Replacing a toilet seat is one of the simplest ways to improve the comfort, appearance and everyday usability of your bathroom. A cracked seat, loose hinges, worn fittings or a lid that no longer closes properly can make an otherwise perfectly functional toilet feel old and inconvenient.
Fortunately, changing a toilet seat is often a straightforward DIY task. With the correct replacement seat, a few basic tools and some patience, you can usually remove the old seat and install the new one without replacing the entire toilet.
The important part is choosing a seat that fits your toilet pan and understanding how its fixing mechanism works. Some seats use traditional bolts and nuts, while others have top-fixing hinges, quick-release fittings or specialised attachments. Using the wrong seat or tightening the fittings too much can lead to an unstable fit or damage to the toilet.
This guide explains how to measure for a replacement toilet seat, remove the old one, install the new seat and troubleshoot common problems. It also covers soft-close seats, cleaning and maintenance, and the factors to consider when choosing a replacement for your bathroom.
Why Should You Replace a Toilet Seat?
A toilet seat does not need to be replaced simply because it has been in use for a particular number of years. However, there are several signs that a replacement may be worthwhile.
1. The Seat Is Cracked or Damaged
A cracked toilet seat can be uncomfortable to use and difficult to clean thoroughly. The damage may also worsen with continued use, particularly if the seat is under strain around the hinges or fixing points.
If the seat is split, warped or structurally damaged, replacing it is generally more sensible than attempting a temporary repair.
2. The Seat Keeps Moving
A toilet seat that shifts from side to side can be irritating and uncomfortable. In many cases, the problem is caused by loose fixing nuts, incorrectly positioned hinges or worn mounting components.
Try checking the fixings first. If the hinges or mounting points are damaged, or the seat no longer remains secure after adjustment, a replacement may be necessary.
3. The Hinges Are Worn or Rusted
Toilet seat hinges experience repeated movement during everyday use. Over time, metal components may corrode, plastic fittings may become brittle, and the mechanism may stop holding the seat securely.
If the hinges are replaceable and compatible components are available, you may only need to change the fittings. Otherwise, replacing the complete seat assembly may be easier.
4. The Seat No Longer Closes Properly
A lid that closes unevenly, catches against the pan or drops abruptly may indicate worn hinges or a damaged closing mechanism.
If you prefer quieter operation, a compatible soft-close toilet seat can be a useful upgrade. Its hinges are designed to slow the closing movement, helping the lid and seat lower more gently.
5. You Want to Update Your Bathroom
A toilet seat may be a relatively small component, but its shape, finish and proportions contribute to the overall appearance of the WC.
Replacing an old seat can help refresh the toilet without the cost and disruption of a complete bathroom renovation. However, the replacement must match the existing pan rather than being selected on appearance alone.
For more guidance on the available options, read Jaquar UK's guide to different types of toilet seats.
What You Need Before Replacing a Toilet Seat
Most toilet seat replacements require only a few basic tools. The exact equipment depends on the type of fixing mechanism and how easily the old fittings can be accessed.
| Tool or item | Purpose |
|---|---|
| Replacement toilet seat | The new seat and its compatible fixing kit |
| Rubber gloves | For hygiene while handling the old seat |
| Cleaning cloths | To clean the pan and mounting area |
| Bathroom-safe cleaner | To clean the toilet before installation |
| Flat-head screwdriver | To lift suitable hinge covers or turn compatible fixings |
| Phillips screwdriver | For screws that use a cross-head fitting |
| Adjustable spanner or pliers | To loosen compatible nuts where required |
| Small torch | To inspect fittings in difficult-to-reach areas |
| Small container | To keep removed nuts, washers and other components together |
You may not need every item on this list. Some modern seats use hand-tightened plastic fittings, while others require a screwdriver or spanner.
Check the instructions supplied with your replacement seat before starting. If the fixing system differs from the one fitted to your existing toilet, you may need a different approach.
Important: Do not use excessive force on ceramic surfaces or plastic fittings. Porcelain can crack under pressure, and plastic bolts can snap if overtightened.
Step 1: Choose the Correct Replacement Toilet Seat
Before removing your existing seat, make sure the replacement is compatible with the toilet pan.
Toilet seats are not universally interchangeable. Two seats may look similar in a product photograph but differ in length, width, shape, hinge spacing or mounting design.
Choosing the correct seat first can prevent unnecessary installation problems.
Identify the Shape of Your Toilet Pan
Start by looking at the outline of the existing seat and ceramic pan.
Common toilet seat shapes include:
- Round or rounded: A compact, curved profile that is often found on traditional or smaller toilet designs.
- Oval or elongated: A longer, rounded shape with a curved front.
- D-shaped: A rounded rear section with a flatter front profile.
- Square or angular: A more geometric shape with straighter edges.
These descriptions are useful for narrowing down your options, but the shape alone does not guarantee compatibility.
Compare the replacement seat's product dimensions with the actual toilet pan. The seat should follow the pan's outline without extending excessively beyond the front or sides.
Check the Fixing Mechanism
Look at how your existing seat attaches to the toilet.
Traditional seats often use two bolts passing through mounting holes at the rear of the pan. The bolts are secured beneath the ceramic using nuts or other fixing components.
Other seats use top-fixing mechanisms, where the fixings are installed and tightened from above. These can be particularly useful when access beneath the pan is restricted.
Quick-release seats may also allow the seat to be detached from its hinges for cleaning. The quick-release mechanism does not necessarily mean the mounting hinges themselves can be removed without tools.
If you are replacing a seat on a wall-hung or back-to-wall toilet, check the available access around the pan before buying. The shape of the WC and the mounting arrangement may affect which seat and fixings are suitable.
Check the Manufacturer and Model
If you know the make and model of your toilet, use that information to identify a compatible seat.
Manufacturer product information can help you confirm the seat shape, dimensions and fixing arrangement. This is particularly useful for toilets with unusual proportions or specialised hinge designs.
Jaquar UK's toilet collection includes several toilet styles and installation formats. If you are considering a seat for a Jaquar WC, check the specific model and compatible seat information rather than assuming that every seat will fit every pan.
For more detailed buying advice, see the Jaquar UK guide on how to choose the best toilet seat.
Step 2: Measure Your Existing Toilet Seat
Measuring the toilet pan is one of the most important parts of choosing a replacement. A seat that is too short, too long or incorrectly spaced at the hinges may not sit securely.
You will generally need three main measurements.
Measure the Length
Measure from the centre line between the two seat-fixing holes towards the front edge of the toilet pan.
This gives you the approximate length required from the mounting position to the front of the seat.
If the seat is still fitted, use the existing seat as a reference, but also check the ceramic pan itself. A damaged or incorrectly fitted old seat may not reflect the correct dimensions.
Measure the Width
Measure across the widest part of the toilet pan.
The replacement seat should be wide enough to follow the pan's outline without extending significantly beyond the ceramic or leaving large sections of the rim exposed.
Take the measurement straight across the pan rather than diagonally.
Measure the Hinge Spacing
Measure the distance between the centres of the two fixing holes at the back of the toilet pan.
This measurement determines whether the seat's hinge fittings can align with the mounting holes.
Some seats have adjustable hinges, which provide a degree of flexibility. However, adjustability has limits, so always compare the measured spacing with the manufacturer's specifications.
Record the Measurements
Write down the length, width and fixing-hole spacing before shopping for a replacement. If possible, also note the toilet manufacturer and model number.
| Measurement | Where to measure | Why it matters |
|---|---|---|
| Length | From the fixing-hole centre line to the front of the pan | Ensures the seat reaches the correct position |
| Width | Across the widest part of the pan | Helps the seat follow the pan's outline |
| Hinge spacing | Between the centres of the mounting holes | Ensures the hinges align correctly |
Do not rely on a general claim such as “standard size”. Toilet pans vary, and a compatible fit depends on the specific dimensions and fixing arrangement.
Step 3: Prepare the Bathroom and Clean the Toilet
Before removing the old seat, prepare the work area.
Put on rubber gloves and move any items stored around the toilet. Make sure you have enough room to reach the hinges and work comfortably.
Clean the existing seat, lid and surrounding pan with a suitable bathroom cleaner. This helps reduce contact with dirt and makes the mounting area easier to inspect once the old seat has been removed.
Follow the cleaning product's instructions and allow the surface to dry as needed.
If the toilet is fitted close to a wall or enclosed by furniture, use a torch to inspect the fixings before you start. This will help you determine whether you can reach the nuts from underneath or need a top-fixing approach.
Keep your tools close at hand so you do not need to interrupt the process once the seat has been removed.
Step 4: Remove the Old Toilet Seat
The removal process depends on the type of hinge and fixing system.
Method A: Removing a Seat With Traditional Bolts
Many conventional toilet seats are secured with two bolts at the back of the pan. The bolts may be covered by small plastic hinge caps.
-
Open the hinge covers.
If the hinges have protective caps, lift them carefully using your fingers or a suitable screwdriver. Avoid levering directly against the ceramic surface.
Some caps hinge open, while others lift off. Check the fitting before applying pressure.
-
Locate the fixing nuts.
Look beneath the rear of the toilet pan to find the nuts securing the seat bolts. These may be plastic or metal.
If the nuts are accessible, hold the bolt or screw from above where necessary while loosening the nut underneath.
-
Loosen the nuts.
Use your fingers, an appropriate spanner or suitable pliers, depending on the fixing design. Turn the nuts gradually rather than applying a sudden twisting force.
If the fitting is difficult to reach, a torch can help you see how the components are positioned.
-
Remove both fixings.
Once the nuts are loose, remove them and any washers or other components. Keep the parts together in case you need to identify the fixing type.
-
Lift off the old seat.
When both sides are detached, lift the seat and lid away from the toilet pan.
If the seat remains stuck, check whether another screw, cap or retaining component is still attached. Do not pull hard enough to put pressure on the ceramic.
Method B: Removing a Top-Fixing Toilet Seat
Some toilet seats are designed for installations where access beneath the pan is restricted.
These typically use fixings that can be tightened or released from above.
-
Locate the fixing covers.
Inspect the hinges for caps or visible screw heads. Remove the covers if the design requires it.
-
Identify the release mechanism.
Depending on the seat, you may need to loosen a screw, turn a fixing or release a mounting component.
Follow the manufacturer's instructions. Top-fixing mechanisms are not all designed in the same way.
-
Release the hinges.
Use the correct screwdriver or tool to loosen the fasteners. Keep the components in order as you remove them.
-
Lift the seat away.
Once the fixings have been released, carefully remove the seat from the pan.
If the mounting components are concealed inside the ceramic holes, check the instructions to understand how they disengage. Do not force them out with a hard tool.
What If the Old Toilet Seat Will Not Come Off?
Older toilet seats can be difficult to remove because the fixings may have corroded, become stuck or accumulated dirt over time.
If the nuts will not turn, first check whether you are turning them in the correct direction and whether the bolt is rotating at the same time.
A suitable penetrating product may help with some metal fixings, but only use it where appropriate for the materials and installation. Follow the product instructions and prevent it from contacting surfaces that could be damaged.
Avoid spraying products indiscriminately around the toilet, particularly if they could affect plastic components or leave a slippery residue.
If a fixing is badly corroded or seized, do not keep applying force. Cutting a bolt may sometimes be necessary, but it carries a risk of damaging the ceramic pan. If you cannot remove the fitting safely, ask a plumber or experienced installer for help.
Once the old seat is removed, inspect the mounting holes and surrounding ceramic for cracks or damage before proceeding.
Step 5: Clean the Mounting Area
With the old seat removed, clean the rear of the toilet pan and the areas around the mounting holes.
Dirt, limescale and residue can accumulate beneath the hinges, especially when the seat has remained in place for a long time.
Use a bathroom-safe cleaner and a soft cloth. For stubborn deposits, choose a cleaning product suitable for the ceramic surface and follow the label instructions.
Avoid using sharp tools to scrape residue away. They can scratch the glaze or damage the mounting area.
Allow the surface to dry before installing the new seat. A clean, dry mounting area makes it easier to position the hinges accurately and inspect the fixings.
This is also a good opportunity to check the pan for cracks, chips or other damage around the fixing holes. If the ceramic is cracked, fitting a new seat will not resolve the underlying issue.
Step 6: Install the New Toilet Seat
Once the mounting area is clean and the replacement seat has been checked for compatibility, you can begin installation.
The exact sequence varies between manufacturers, so use the supplied instructions as your primary reference.
Position the Fixing Components
Lay out the new seat, hinges, bolts, washers and nuts before starting.
Some seats have hinges that attach to the pan first, after which the seat clips or slides into place. Others require the seat and hinges to be assembled before the complete unit is mounted.
Identify the correct arrangement before tightening anything.
Insert the Fixings
Align the mounting components with the holes at the rear of the pan.
For a conventional seat, this usually involves passing the bolts through the mounting holes and placing the washers and nuts in the order specified by the manufacturer.
For a top-fixing seat, install the supplied plugs, anchors or other components as instructed.
Do not substitute random screws or fixings simply because they appear to fit. The supplied hardware is designed for the seat's mounting arrangement.
Position the Seat Correctly
Before fully tightening the fixings, place the seat in its intended position.
Check that:
- The seat follows the outline of the ceramic pan.
- The front edge is aligned with the front of the pan.
- The seat is centred from left to right.
- The hinges are positioned evenly.
- The lid opens and closes without catching against nearby surfaces.
Small adjustments are easier to make before the fixings are fully secured.
Tighten the Fixings Gradually
Tighten the fixings according to the manufacturer's instructions.
With traditional fittings, you may need to hold the bolt steady while tightening the nut underneath. With other systems, the screw or fixing may be tightened from above.
Apply controlled pressure and alternate between the two sides where appropriate. This helps maintain an even position.
Do not overtighten the fixings. Excessive force can damage plastic components, distort washers or put stress on the ceramic pan.
The goal is a stable seat that does not move during normal use, not the tightest possible connection.
Fit the Hinge Covers or Seat Assembly
If the design includes hinge covers, refit them once the fixings are secure.
For a quick-release seat, attach the seat to its mounting plates according to the manufacturer's instructions and check that the release mechanism engages properly.
Open and close the seat gently to make sure it moves smoothly.
Step 7: Check the Fit and Stability
Before considering the job complete, check the seat carefully.
Lower the lid and seat, then raise them again. Make sure the hinges move without catching and that the seat remains centred on the pan.
Gently check for sideways movement. If the seat shifts, inspect the hinge alignment and mounting fixings.
Do not attempt to correct a loose seat simply by applying more force to every screw. The problem may be caused by a misplaced washer, incorrectly fitted hinge or incompatible fixing component.
If the seat repeatedly shifts despite correct installation, check the product instructions or contact the manufacturer for guidance.
Finally, make sure the lid and seat clear any nearby wall, cistern or bathroom fittings when opened.
How to Fit a Soft-Close Toilet Seat
Soft-close seats use a mechanism that slows the movement of the seat and lid as they close. This helps prevent the sudden impact associated with conventional hinges.
The installation process is similar to that of a standard seat, but the hinge arrangement may differ.
Before buying a soft-close model, check that it is compatible with your toilet pan. The seat must match the pan's shape and mounting dimensions, and its hinges must be suitable for the existing installation.
During installation:
- Confirm the correct seat and fixing kit.
- Fit the mounting components according to the instructions.
- Align the seat before tightening the fixings.
- Secure the hinges without overtightening them.
- Attach the seat to the mounting plates if required.
- Test the closing action gently.
Do not force the lid down to make it close faster. The mechanism is designed to control the closing movement, and forcing it can damage the hinges.
If the seat no longer closes slowly after installation, check that the hinges are fitted correctly and that the seat is compatible with the pan.
Common Problems When Replacing a Toilet Seat
Even a relatively simple installation can present challenges. Understanding the most common problems can help you avoid unnecessary damage.
The New Seat Does Not Line Up With the Pan
This usually indicates that the seat shape, length, width or hinge spacing is incorrect, or that the mounting components have not been positioned correctly.
Loosen the fixings slightly and adjust the hinges if the design allows. If the seat still cannot be centred without extending beyond the pan, recheck the measurements and product compatibility.
Do not try to compensate for a fundamentally incorrect size by forcing the hinges into position.
The Seat Wobbles After Installation
A wobbly seat may have loose nuts, unevenly positioned hinges or incorrectly fitted washers.
Check that the mounting components are assembled in the correct order and that both sides are secured evenly.
If the fixings are tight but the seat still moves, inspect the hinges for damage and make sure the seat is designed for the pan.
The Fixing Nuts Will Not Turn
Old metal fixings can corrode, while plastic nuts may become brittle with age.
Try to identify whether the bolt is turning together with the nut. If it is, you may need to hold the bolt steady using the appropriate tool.
Avoid gripping the ceramic or applying excessive force. If the fitting is seized or the bolt is inaccessible, professional assistance may be the safer option.
The Seat Closes Unevenly
An uneven closing action may be caused by misaligned hinges or an incorrectly fitted soft-close mechanism.
Check the mounting position and ensure the seat is sitting evenly on the pan. If the mechanism itself appears damaged, consult the manufacturer rather than attempting to dismantle it without guidance.
The Fixings Do Not Fit the Existing Holes
The replacement seat may use a different fixing system or require a different mounting arrangement.
Check whether the supplied kit includes compatible top-fixing or bottom-fixing components. If the seat cannot be installed according to the instructions, do not improvise with unsuitable screws or adhesives.
Choose a compatible seat or contact the manufacturer for advice.
How to Keep Your New Toilet Seat in Good Condition
Once the new seat is fitted, regular cleaning and sensible use can help maintain its appearance and function.
Clean the Seat With Suitable Products
Use a cleaner recommended for the seat material and follow the manufacturer's instructions.
Avoid abrasive pads and harsh chemicals unless the manufacturer confirms they are suitable. These may scratch the surface, affect the finish or damage certain plastic components.
Rinse or wipe away cleaning residue as directed and dry the seat if necessary.
Check the Hinges Periodically
Inspect the hinges occasionally for loose fixings, visible wear or corrosion.
If the seat begins to move, correct the issue early rather than allowing the movement to become worse. Tighten the fittings only as directed by the manufacturer.
Avoid Dropping the Lid
Even a conventional toilet lid can crack or damage its hinges if it is repeatedly dropped. A soft-close mechanism helps control the movement, but it should not be forced.
Lower the seat and lid gently if the model does not have a soft-close function.
Keep the Fixing Area Clean
Dirt and residue can accumulate around the hinges, particularly when the seat has been in place for a long time.
If the seat has a quick-release feature, use it according to the manufacturer's instructions to clean the areas around the hinges. Reattach it securely before use.
Replace Damaged Components Promptly
If a hinge cracks, a bolt becomes badly corroded or the seat develops a split, assess whether a compatible replacement component is available.
A damaged seat should not be kept in use simply because the toilet pan itself is still functional.
Should You Replace the Toilet Seat or the Entire Toilet?
A damaged seat does not automatically mean that the entire toilet needs replacing.
If the ceramic pan is in good condition, the flushing system works correctly and the toilet remains securely installed, replacing the seat may be all that is necessary.
A complete toilet replacement may be worth considering if the pan is cracked, the installation no longer suits your bathroom, the flushing mechanism has persistent problems or you are planning a wider renovation.
When comparing options, think about the cost and disruption of replacing the whole WC against the benefits of a simpler seat replacement.
If you are planning a new bathroom, explore Jaquar UK's toilet collection for different WC configurations. Check the individual product specifications and compatible seat information before selecting a complete toilet or replacement seat.
Frequently Asked Questions
Can I replace a toilet seat myself?
In many cases, yes. Replacing a toilet seat is generally a straightforward DIY task if you choose a compatible seat and can access the fixings safely. Follow the manufacturer's instructions and avoid applying excessive force to the fittings or ceramic pan.
Are toilet seats a standard size?
No. Toilet seats come in different shapes, lengths, widths and hinge configurations. Measure the pan and fixing-hole spacing, and check the replacement seat's specifications before buying.
How do I measure a toilet seat for replacement?
Measure the length from the centre line between the fixing holes to the front of the pan, the width across the widest point and the distance between the centres of the fixing holes. Also check the shape and fixing mechanism.
How long does it take to replace a toilet seat?
If the replacement fits correctly and the old fixings come off easily, the job may take only a short time. Stuck bolts, corroded hinges or an unfamiliar fixing mechanism can make the process longer.
What should I do if the toilet seat bolts are stuck?
Inspect the fixings and determine whether the nut or bolt is turning. Use the correct tool and avoid excessive force. If the bolts are badly corroded or cannot be removed without risking damage to the ceramic, contact a plumber or experienced installer.
Can I fit a soft-close seat to any toilet?
No. A soft-close seat must be compatible with the toilet pan's shape, dimensions and mounting arrangement. Check the manufacturer's specifications before purchasing.
Why does my new toilet seat keep moving?
The hinges may not be aligned correctly, the fixings may be loose or the seat may not be compatible with the pan. Recheck the installation and tighten the components as instructed. If the seat still moves, inspect the mounting parts and confirm compatibility.
Can I replace only the toilet seat hinges?
Sometimes. If the seat itself is in good condition and compatible replacement hinges are available, you may be able to replace the hinges without changing the entire seat. Confirm the hinge design and fixing compatibility first.
How do I remove a toilet seat with no visible screws?
The fixings may be hidden beneath hinge covers or the seat may use a top-fixing or quick-release mechanism. Inspect the hinges and check the manufacturer's instructions before trying to remove the seat. Do not force the components if you cannot identify the release mechanism.
Do I need to turn off the water before replacing a toilet seat?
Usually, no. Replacing a toilet seat does not normally involve disconnecting the water supply or opening the flushing system. If the job also involves repairs to the cistern or other plumbing, follow the appropriate safety procedures for that work.
How often should a toilet seat be replaced?
There is no universal replacement interval. Replace the seat when it becomes cracked, unstable, difficult to clean or damaged beyond practical repair. A well-maintained seat may remain usable for years, depending on its materials and everyday use.
Final Thoughts
Replacing a toilet seat is often a manageable bathroom maintenance task, provided you choose the correct replacement and install it carefully.
Start by identifying the shape and fixing mechanism of your existing seat. Measure the pan and hinge spacing, prepare the work area, remove the old fittings and clean the mounting surface before installing the new seat. Once it is fitted, check that it sits evenly, remains stable and opens and closes smoothly.
If the fixings are seized, the ceramic is cracked or the replacement cannot be secured correctly, stop rather than risking damage to the toilet.
For a simple refresh, a compatible replacement seat may be all your bathroom needs. If you are planning a more extensive update, explore Jaquar UK's toilet collection and read the guide to choosing the right toilet seat to understand the options available for your bathroom.


